Hello! It’s me, Natalie, again. I’m back with an off-the-page mixed media project that features stamps from three Mama Makes sets. The idea for the piece came from an old book of nursery rhymes that I found in a charity shop. The rhyme I chose for this piece reminded me of the cute critters featured in Mama Makes’ recent releases, and it evolved from there.
You will need:
Stamps:
Mama Makes A7 Mixed Media stamp: Large Script
Mama Makes Woodland Friends
Mama Makes Hello Spring
Inks:
Waterproof black ink e.g. Stazon
Water-based colouring pens
Paints:
White gesso
Acrylic craft paint in light pink, light blue and cream
Papers:
8” x 6” piece of scrap cardboard (I used the front cover from a pad of paper)
price tags from clothes
Nursery rhyme from an old book or printed out on paper
White card for stamping on
Piece of scrapbook paper
Embellishments:
Three washi tapes of varying width
Sparkly paper flowers
Nuvo Drops in Sea Breeze and Sweet Lilac
Nuvo Glitter Paste in Moonstone
Adhesives:
Glue stick
Double-sided foam tape
Gel matte medium
Tools:
Flat brush for gesso and acrylic
Small watercolour brush or water brush
Water pot for cleaning brushes
Water for blending colouring pens
Hairdryer
Starry stencil
Palette knife
Small brush for gel matte medium
Scissors
Paper trimmer
Corner rounder
Acrylic block
Instructions:
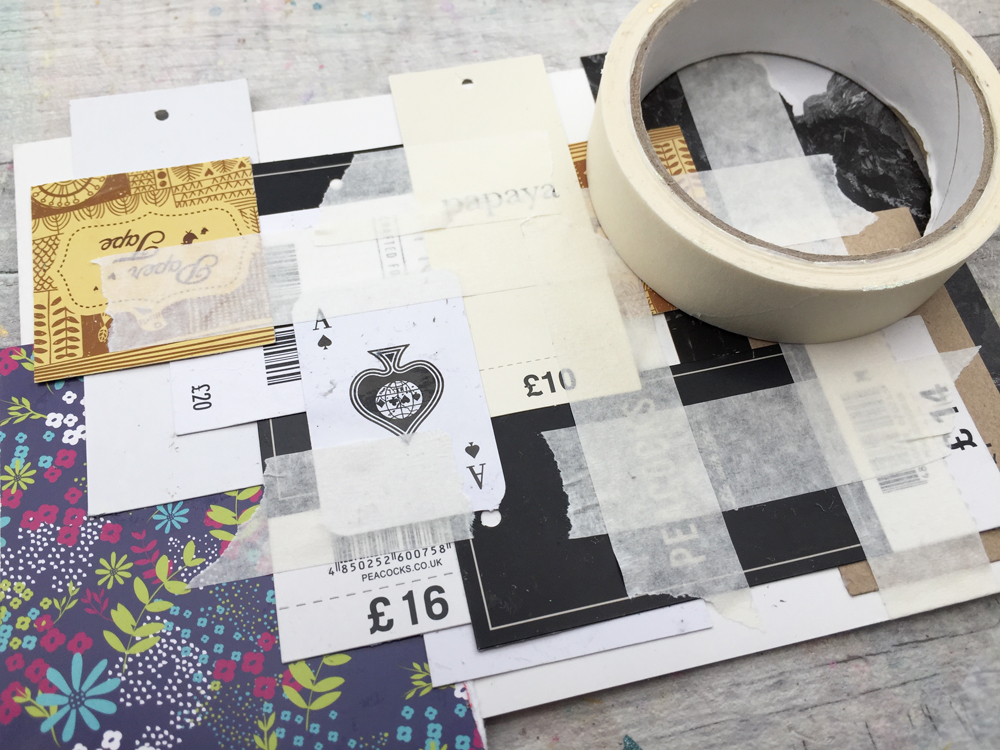
1. To create a textured background, arrange your price tags on the cardboard, making sure to overlap them and allowing some hanging off the edge of the board. Once you’re happy with the arrangement, glue them down using a glue stick.

2. To add more texture, tear off strips of masking tape and stick these over the tags wherever you feel they go best.
3. To prime the piece, give it at least two coats of gesso. This will cover up whatever is on the tags and give the acrylic paint something to cling to. Allow the first coat to dry before adding the second. You can speed up the process with a hairdryer.

4. Give the whole piece two layers of pink acrylic paint. Again, allow the first coat to dry before applying the second.
 5. Dry-brush small amounts of the blue acrylic over the pink. You don’t want to cover up the pink; you’re just adding highlights. Concentrate on the edges of the tags. It should look as if you’ve dusted it with the blue paint.

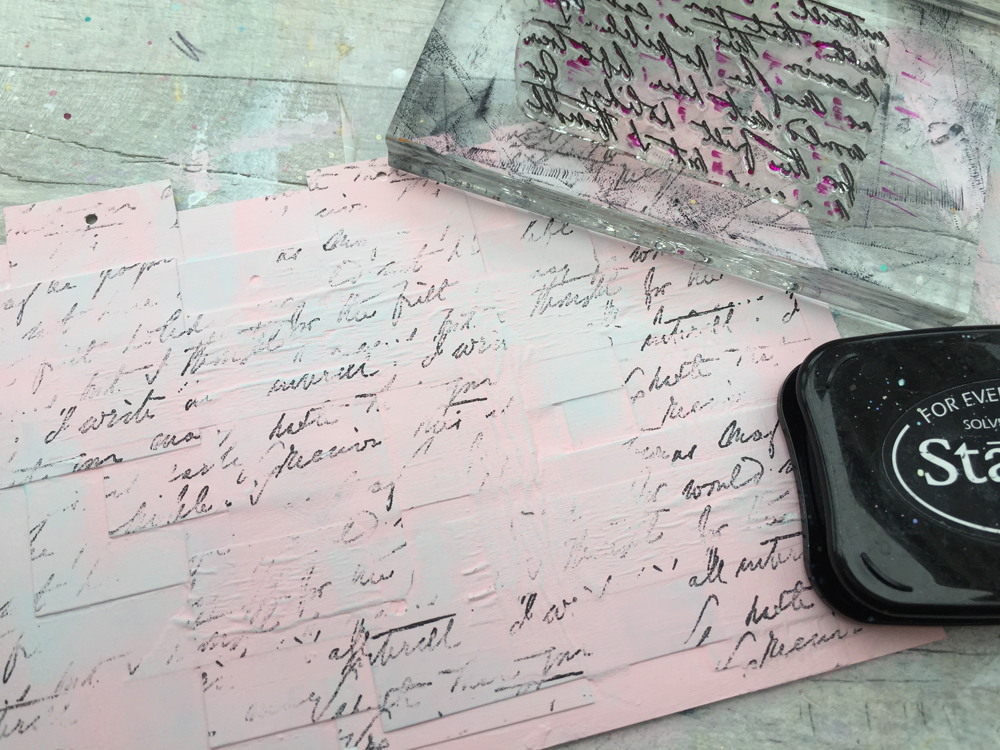
6. Once all the paint is dry, using the waterproof black ink and acrylic block, stamp the ‘Large Script’ stamp over the whole of the piece. It doesn’t matter if the stamping is patchy or if there are small areas that are un-stamped. This will add depth and dimension to the background. 
7. Next, bring it all together by dry-brushing the cream acrylic in the same way you did the blue. When you’ve finished, you should see a little bit of everything here and there.

8. Now it’s time to add some washi tape. I chose three of my washi tapes that went well with the background colours. Arrange yours as per the image below. Use scissors to cut the ‘V’ shape out of the top piece.
9. Tear your nursery rhyme out from its paper, leaving the edges jagged. Adhere this to the scrapbook paper with a glue stick. You can use any scrapbook paper that goes nicely with your exact colours. 
10. Trim your scrapbook paper down to size, and, if you like, use a corner-rounder to round the corners of everything that’s got corners. Alternatively, use scissors. 
11. Using foam tape for dimension, stick your nursery rhyme panel onto your background.
12. To add some sparkle, I pushed Nuvo Glitter Paste through a starry stencil using a pallet knife. This needs a little while to dry, which is good because now it’s time for stamping and colouring the woodland characters.
13. Using the waterproof ink, stamp the rabbit, fox and mushrooms on white cardstock and then colour them in using water-based marker pens, blending the colours with a wet watercolour brush or water brush. I used colours that went well with the background and kept them light to make sure they were in-keeping with the pastel colours I’d used.
14. Once the characters and mushrooms have dried, cut them out with scissors and add foam tape to their backs.
15. Arrange your characters on the background however you choose. You can see my finished layout in the image below. To add more interest I used gel matte medium to stick on some sparkly paper flowers that I had lying around. Finally, I dotted Nuvo Drops around as well. Sticky gems or even buttons would look good too.

And that’s it. I think this would look lovely hanging in a baby’s nursery or a young child’s bedroom. You’d just have to tape a bit of string to the back and hang it over a picture hook.
These stamps are available on the store (but always sell out so if they’re in stock be quick!) and they will feature on Mama Makes Hochanda Show on 9th May at 11am and 2pm.
Until next time, happy crafting!
Natalie x